Foam board pieces
 Click the image on the right to download an A4-sized PDF template for cutting out the foam board pieces for the robot. Note that one A4 template provides enough pieces for two robots.
To use the template, download the PDF, print it on A4 paper and confirm that the dimensions of the three large rectangles are 82mm x 75mm. Assuming they are, mount the template on an A4-sized piece of foam board using spray adhesive (or similar). A craft knife can then be used to cut out the three large rectangles and to remove the rectangular section from the centre of one of them.
Construction of structural frame of robot
The paper template can be used to create the main structural frame of the robot and a piece of white foam board as follows. First, use a scissors to cut around the outline of the paper template.
Cut off some small squares of double sided sticky tape, and fix to the unmarked side of the cut-out paper template
Now stick the paper template onto the foam board
Using extreme care, use a craft knife to cut out first the outline of the template…
…and then cut into the four individual pieces of the robot structure.
One of the pieces includes a rectangular hole for the solderless breadboard, which you need to cut out also.
It should fit snugly over the breadboard. Push it down over the breadboard so the bottom side of this piece is flush with the underside of the breadboard.
Turn the breadboard and hollowed out piece over, and place small pieces of double-sided tape around the underside of the foam board around the breadboard. DO NOT place double-sided tape on the breadboard itself. This is likely to cause damage to the breadboard.
Now connect another “non-cored” piece to the underside of these two parts.
Arrange motors so that the axles are pointing outwards. Next place double-sided tape on top and bottom side of the motors
Remove the backing on the double-sided tape
And so make a “motor sandwich” with the breadboard on top and the remaining larger piece of foamboard below the motors. Make sure that the motor axles are pointing outwards and are in the middle of the “sandwich”.
The final smaller piece of foam board is intended to hold the “colour sensor” that distinguishes between the black of the centre of the arena and the white colour at the edges.
The two small yellow wheels in your pack need to be “gouged” in a rectangular notch so that they can slip over the motor “axles”.
Here is what the gouged wheel looks like – maybe you can do a neater job of it.
Place the wheels on to the robot to test them. If they are loose, you may need to apply some superglue to keep them in place (but not just yet!). If so, you need to pay particular attention to the alignment of the wheels – you will only get one chance to get them right.
We have not been sponsored by a well known Dutch brewery. Their drip mats are circular and make good wheels.
Apply double-sided tape to the two “wheels”
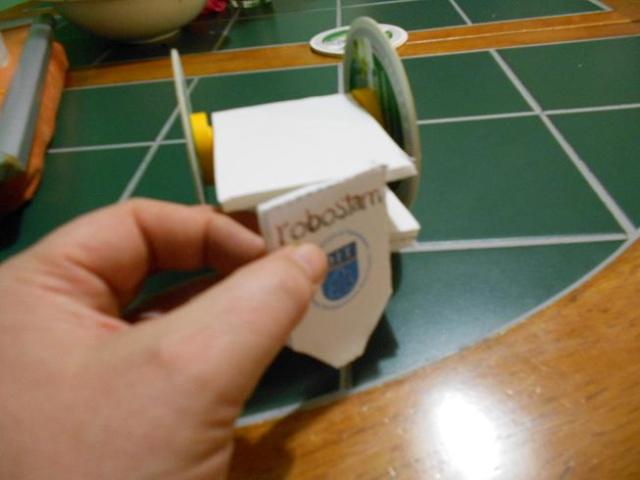
…and stick the yellow gouged wheels on to the larger dripmat-wheels.
And that is the basic mechanical assembly more or less complete.
Now apply double-sided tape to the battery holder.
Then remove the backing and place the battery on the foamboard under the motors and between the wheels. This ensures that the centre of gravity of the robot will be low.
Now apply double sided tape to the cutout piece with from the centre of the template and fix it to the front of the bot.
That’s it! You may need to apply superglue to the gouged wheel slot, to make sure that the wheels are fixed solidly in place.
The “colour sensor” to the robot can be fixed onto the back of the front piece, with a small square piece of foamboard used as a spacer.
The next step is circuit construction.


