
An optional element of today’s workshop is to design some additional laser cut acrylic parts for your robot. To do so, you will need to draw the shapes you want in a vector drawing program called Inkscape (it’s free software, so you can download it at home too if you wish).
Before drawing your design, create a folder to store your drawings in. Create the folder inside the “C:/RoboSlam/” folder and call it “drawings” as shown below:

We have prepared a template file to get you started. It already has the page size set to the dimensions of the piece of acrylic your pieces will be cut from. Click on the link below to download the template file. Store it in the drawings folder you just created.
The template drawing file should now be in the folder “C:/RoboSlam/drawings/” as shown below:

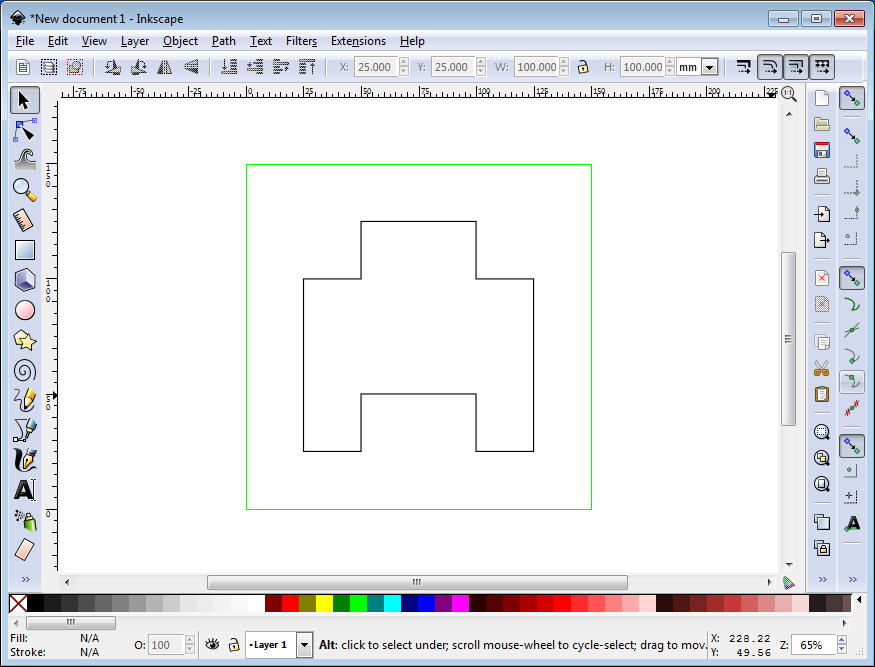
Open Inkscape, click on the “File” menu and select “Open…”. Browse to “C:/RoboSlam/drawings/” and double click on the template drawing file to open it. You should see the drawing shown below:
If you’re not sure where to get started with Inkscape, try the basic tutorials under the Help menu. They explain how to create and modify different shapes. For the laser cutting, all you want are shapes drawing with thin black lines. The shapes should not be filled. We’ll suggest a few ideas to start with during the workshop.
As soon as you’ve begun modifying the drawing, you should save it to ensure you don’t lose any of your work. From the “File” menu, select “Save as…” and browse to the “C:/RoboSlam/drawings/” folder. Set the filename to your own name (no spaces) and leave the file type as the default (“Inkscape SVG”).

Once your file is saved, it should appear as shown below in the “C:/RoboSlam/drawings/” folder, except of course that it will be your name instead of mine!

We will explain during the workshop how we’re going to collect the files for laser cutting between now and Friday when you will add the pieces to your robot.


